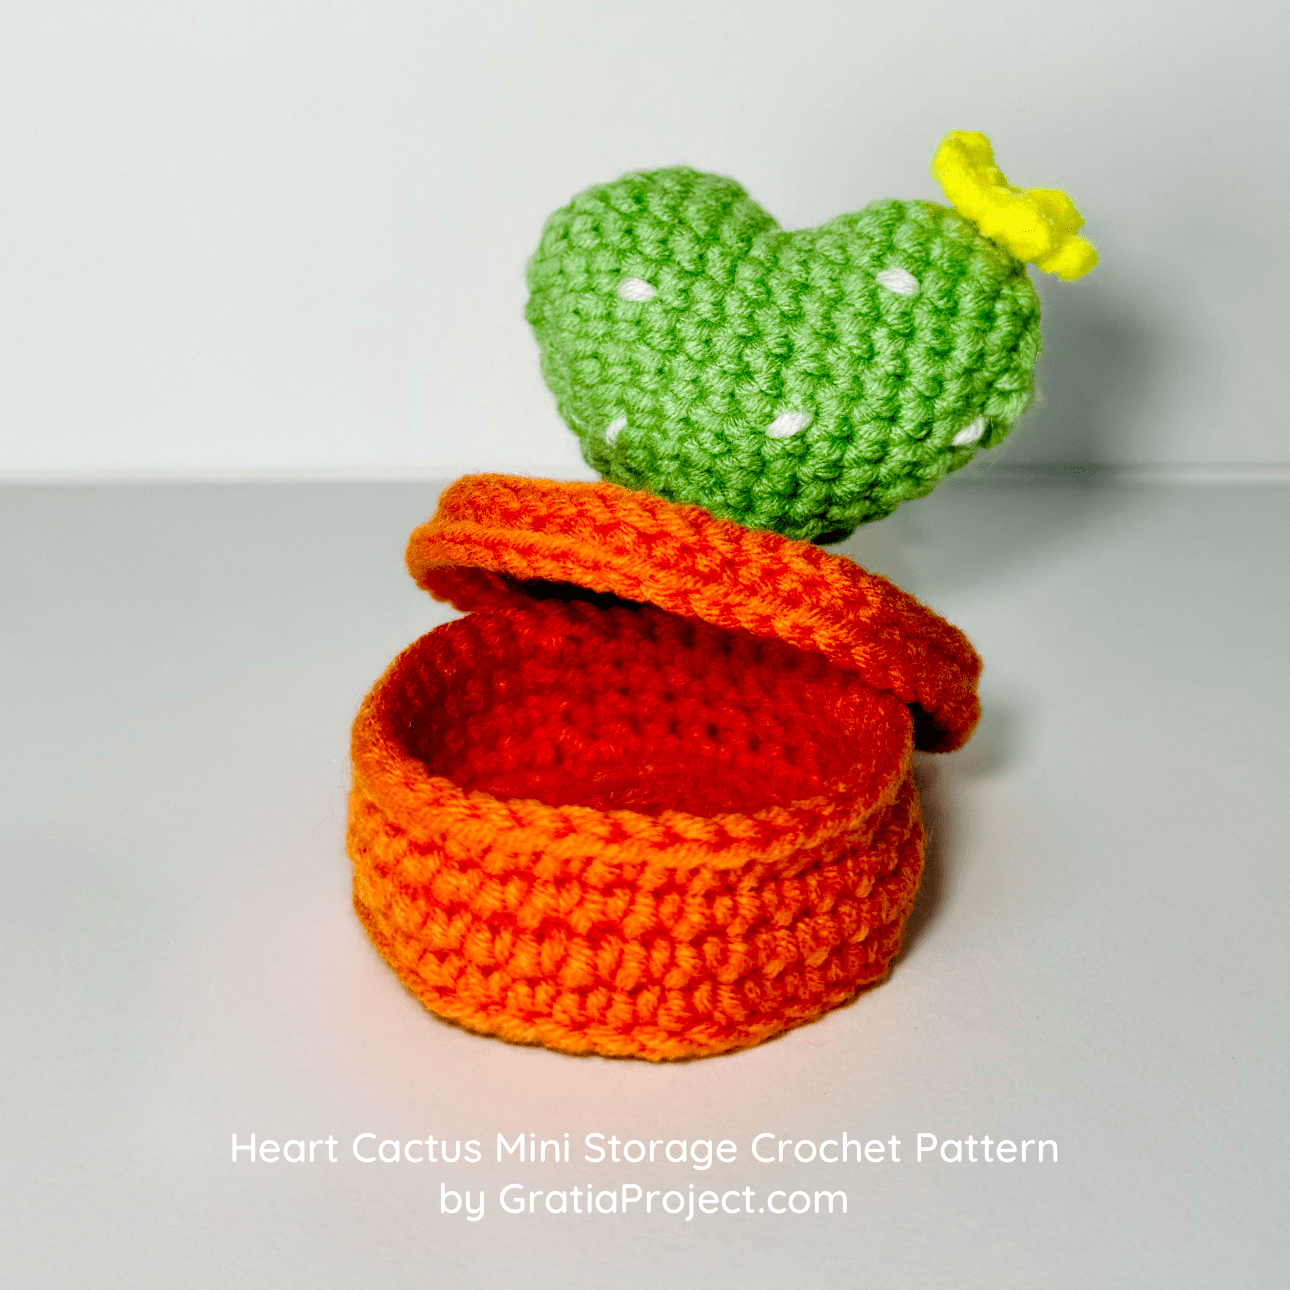
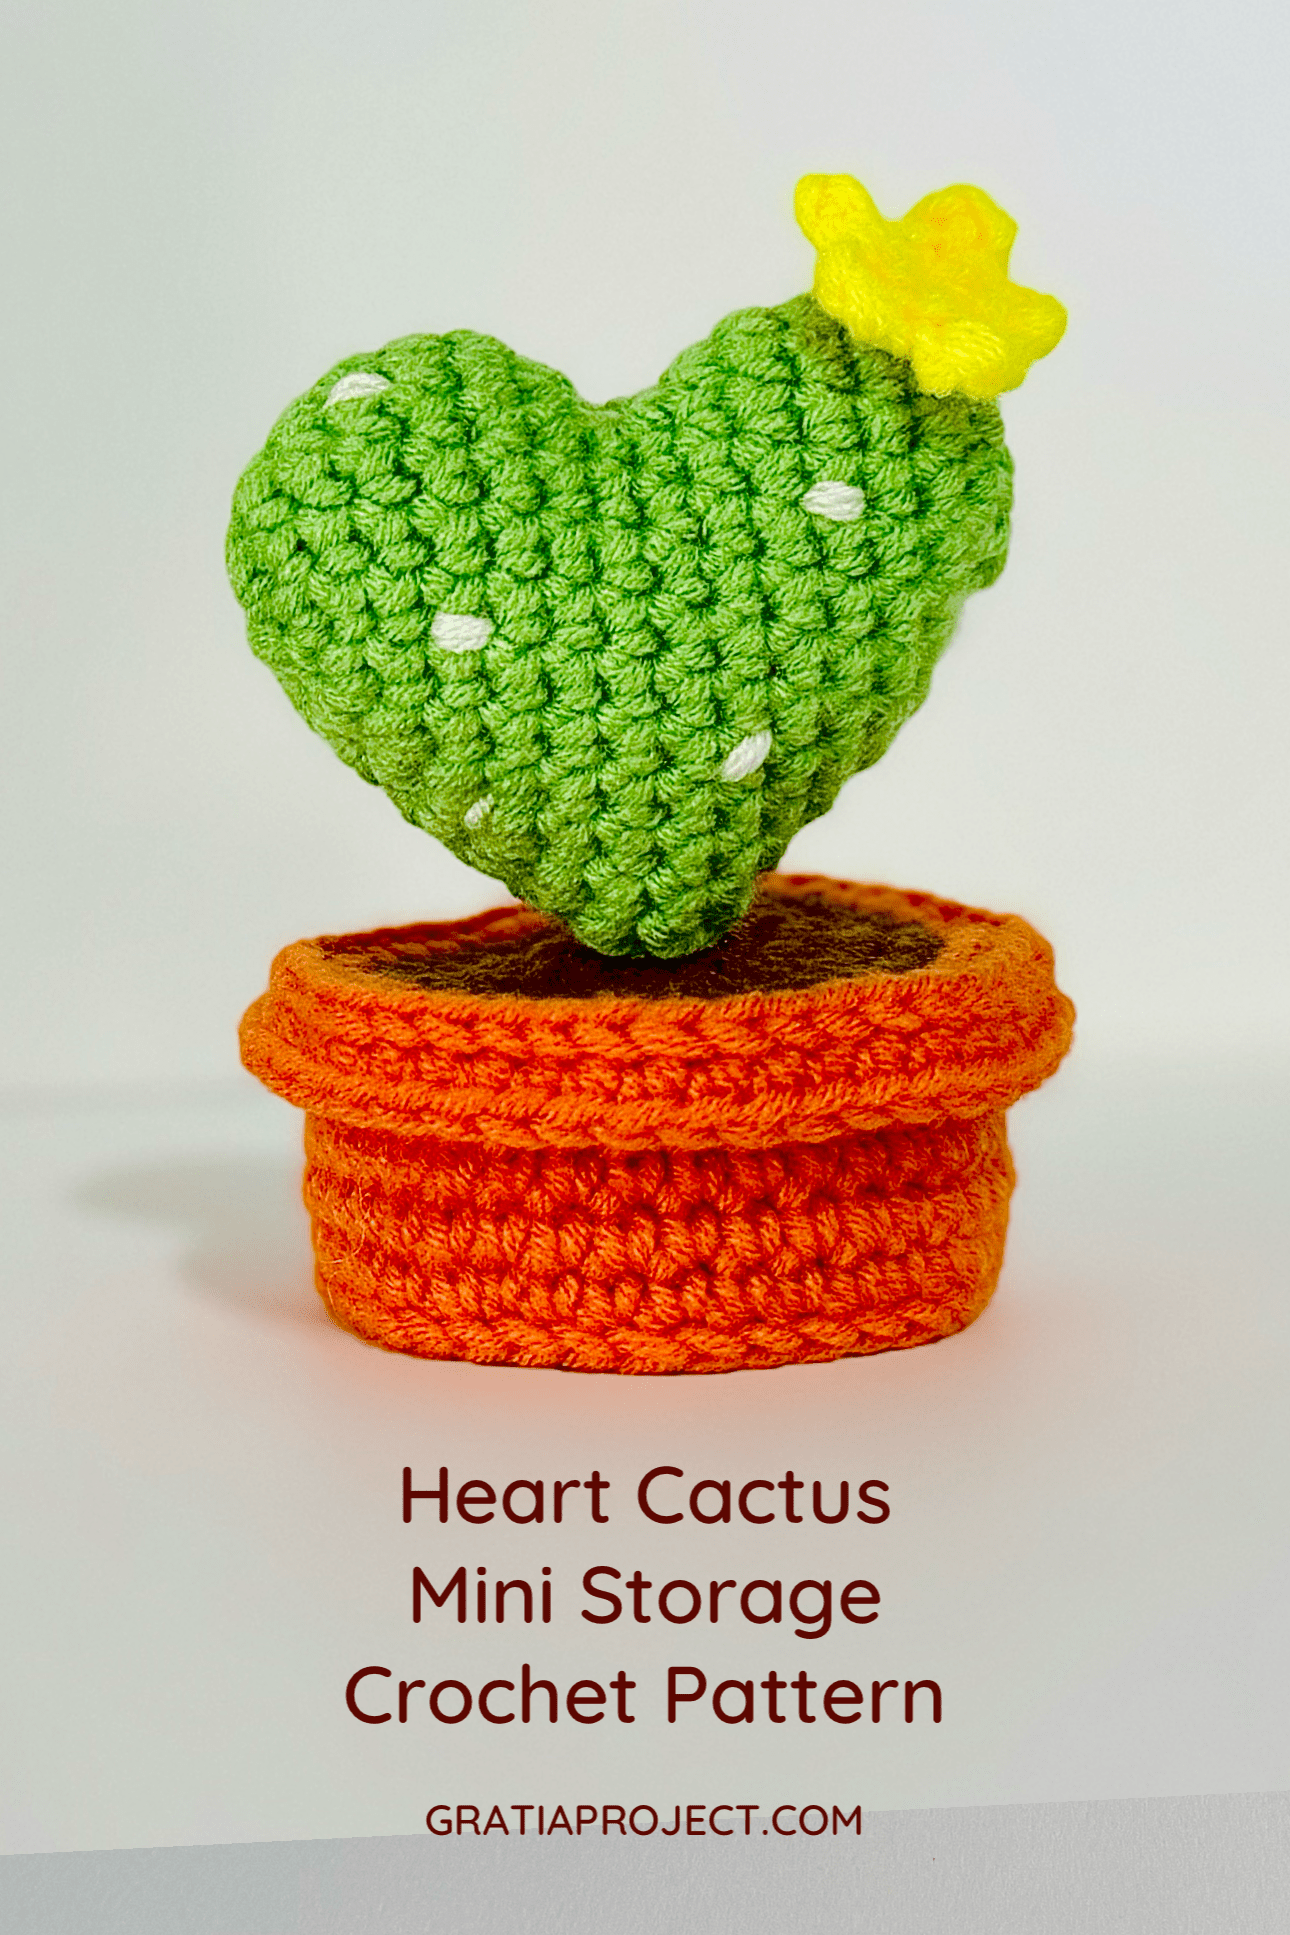
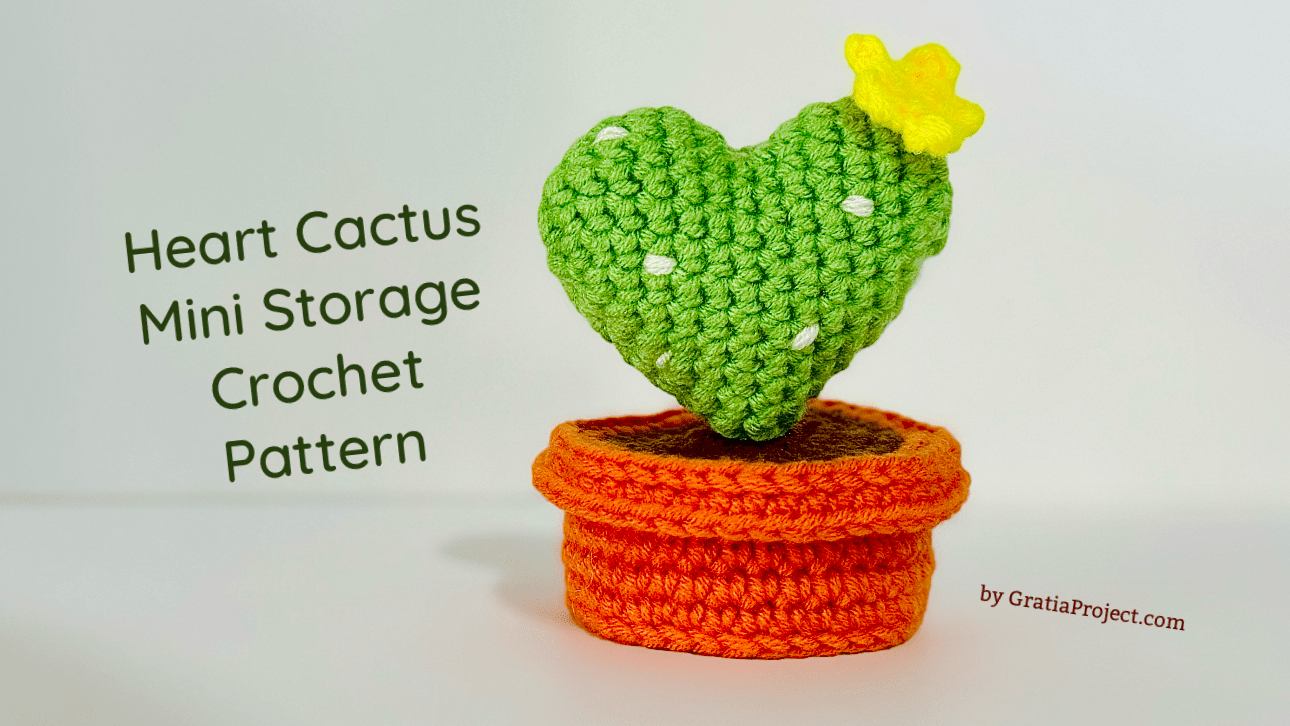
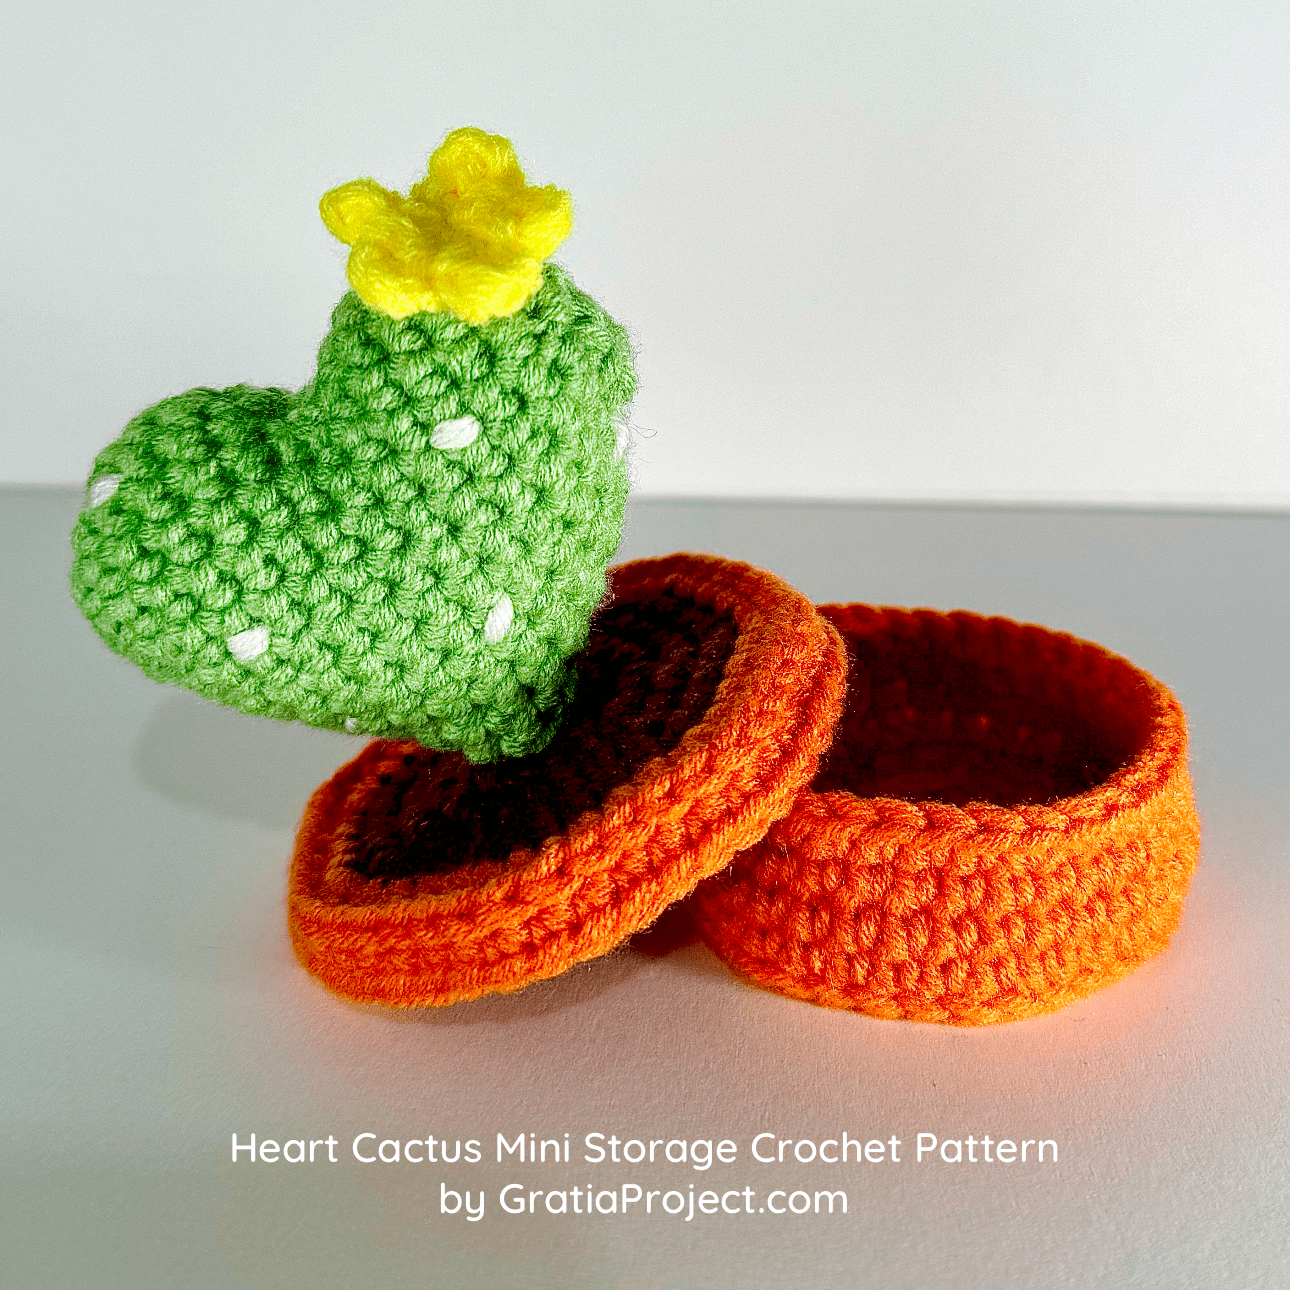
Heart Cactus Mini Storage Crochet Pattern
This heart cactus mini storage crochet project is perfect for a gift! I made it in less than 2-hours. It’s super handy for holding jewelry, coins, or other small accessories.
* Some links may be affiliate links, which means I earn a commission if you make a purchase through them.
Materials:
Soft cotton DK yarn or any yarn that you already have
Crochet hook size 5/0 or 3mm Etimo crochet hook
Polyester fiber fill
Stitch marker: Clover Needlecraft Split Ring Markers
Tapestry needle
Glue
Scissors
ABBREVIATIONS (US Crochet Terms)
st(s): stitch(es)
sl st: slip stitch
MR: Magic Ring
R: Round
ch: chain
sc: single crochet
[#]: number of stitch(es) in a round
inc: increase (make 2 sc in the same space)
dec: decrease (sc2tog) – use Invisible Decrease for better result. Using invisible decrease (dec) instead of sc2tog is recommended when making amigurumi; you can’t even tell that the stitches are decreasing.
To do Invisible Decrease, insert hook through front loop of the first stitch, then through the front loop of the next stitch (3 loops on hook). Yarn over and draw through the first two loops on the hook (2 loops on hook now). Yarn over and draw through both loops on the hook. Invisible decrease completed.
Notes:
– The pattern is worked continuously in the round unless otherwise stated.
– Use stitch marker to mark first stitch in a round.
– In this tutorial I used yarn color green, dark brown, terracotta, yellow, and white.
Heart Cactus Mini Storage Crochet Pattern by Effi GratiaProject.com
Heart Cactus (green yarn)
Please follow the exact pattern of Heart Amigurumi in here https://www.gratiaproject.com/amigurumi-heart-crochet-tutorial-crochet-for-beginners.htm
Mini Flower (yellow yarn)
Start with a Magic Ring.
(ch 3, sl st) repeat 5x.
Cut the yarn and fasten off.
Use white yarn to embroider the spines.
Attach the mini flower on top of heart cactus.
Mini Storage Pot
First make the soil. Use dark brown yarn.
Start with a Magic Ring.
R1: sc 7 [total 7 sts]
R2: inc x7 [14 sts]
R3: (inc, sc) x7 [21 sts]
R4: (inc, sc 2) x7 [28 sts]
R5: (inc, sc 3) x7 [35 sts]
Join Round 5 with slip stitch. The soil part done.
Attach terracotta yarn for Round 6.
R6: (inc, sc 6) x7 [42 sts]
Join Round 6 with slip stitch.
Ch 1, turn, slip stitch in each stitch around.
Ch 1, turn.
R7: Sc in each st around in BOTH loops [42 sts]
Join with slip stitch. Fasten-off and cut the yarn.
The top lid done.
Next make the main part of the pot. Start from the bottom.
Start with a Magic Ring, use terracotta yarn.
R1: In a MR, sc 7 [7 sts]
R2: Inc x7 [14 sts]
R3: (Sc, inc) x7 [21 sts]
R4: (Sc 2, inc) x7 [28 sts]
R5: (Sc 5, inc) x7 [35 sts]
End R5 with sl st.
Ch 1, turn, sl st in each st around.
Ch 1, turn. This step creates stronger base for the body of the flower pot.
R6-9: Sc in each st around in BOTH loops [35 sts]
Fasten-off and cut the yarn.
Sew the heart cactus to the top lid with yarn.
Hide all the yarn tail.
Enjoy your new heart cactus amigurumi!