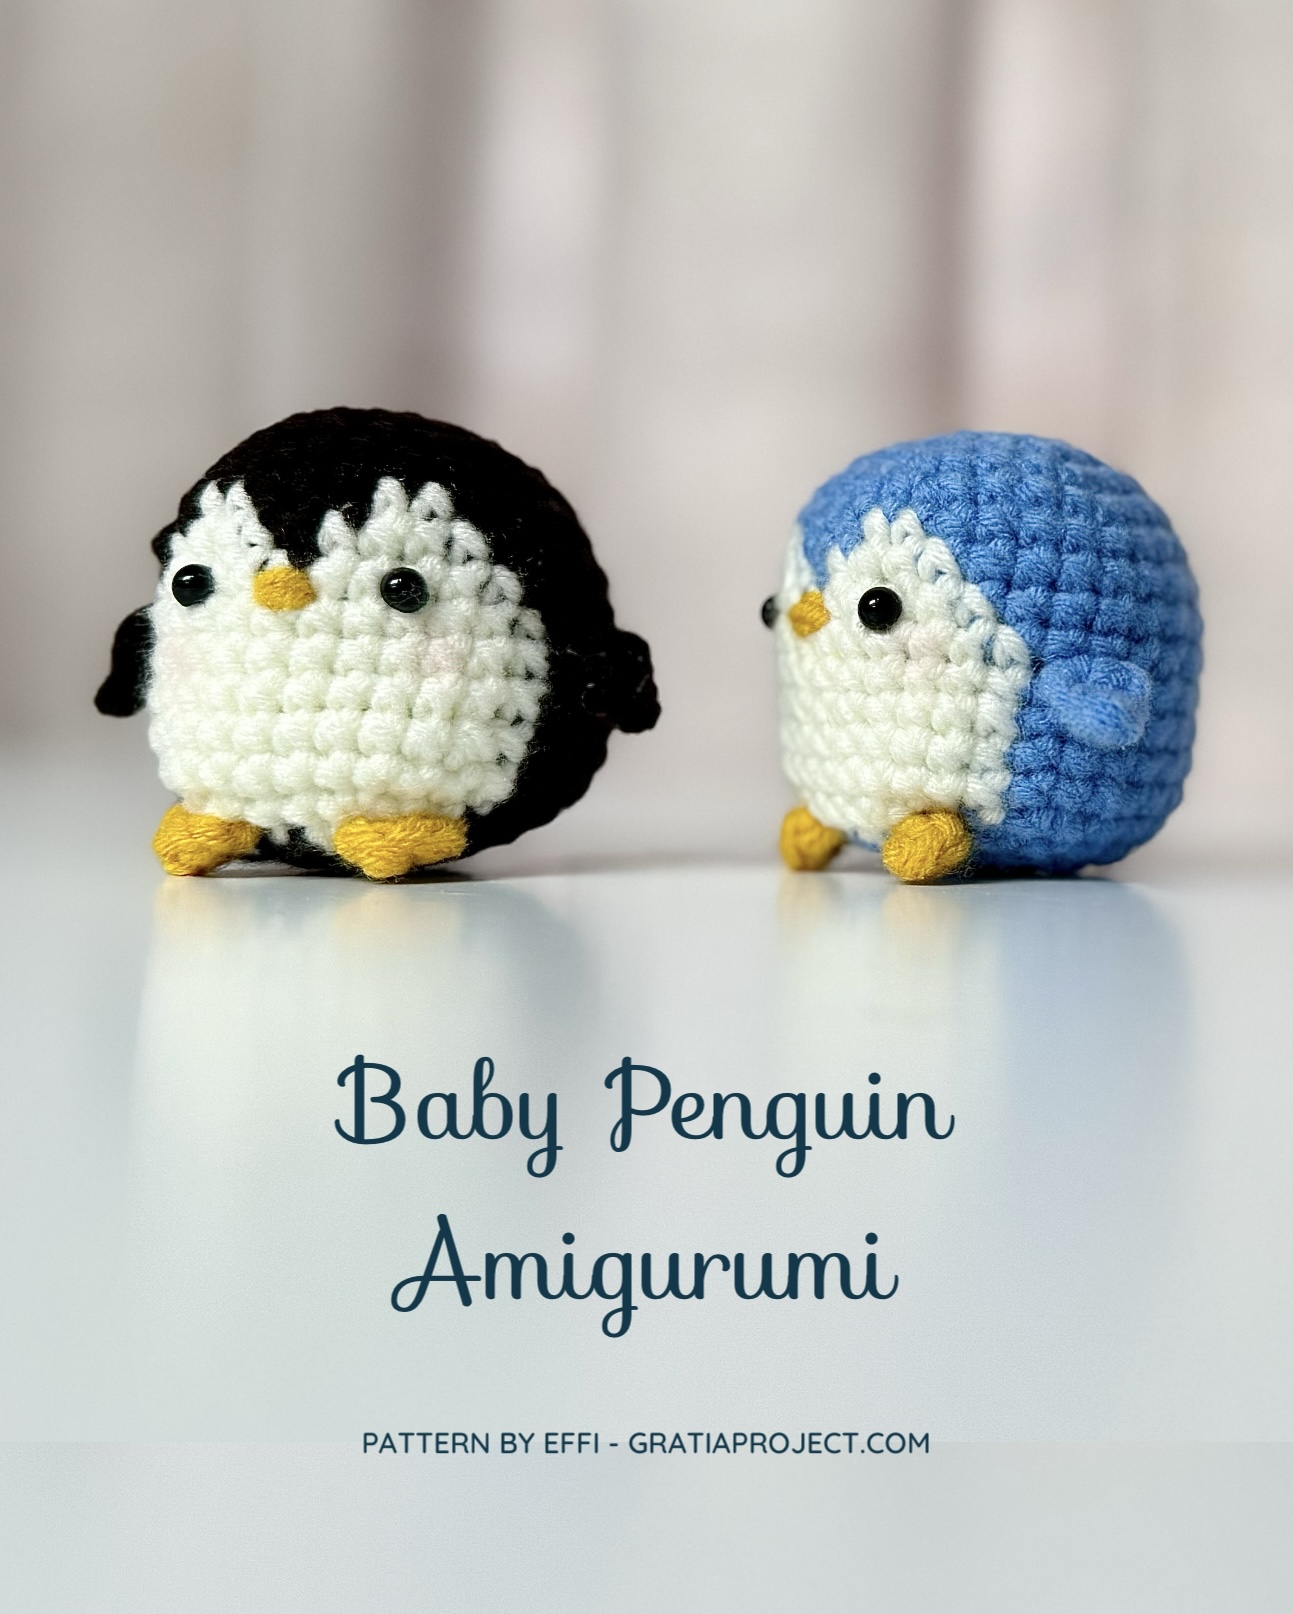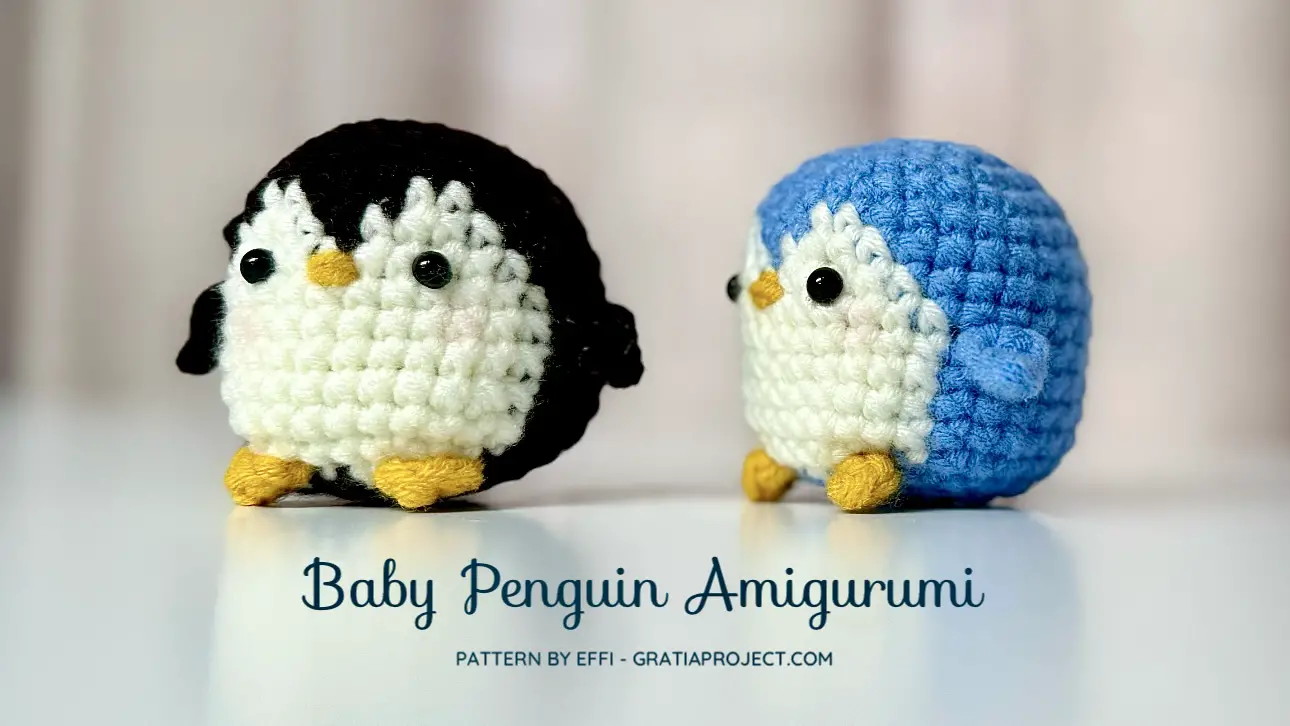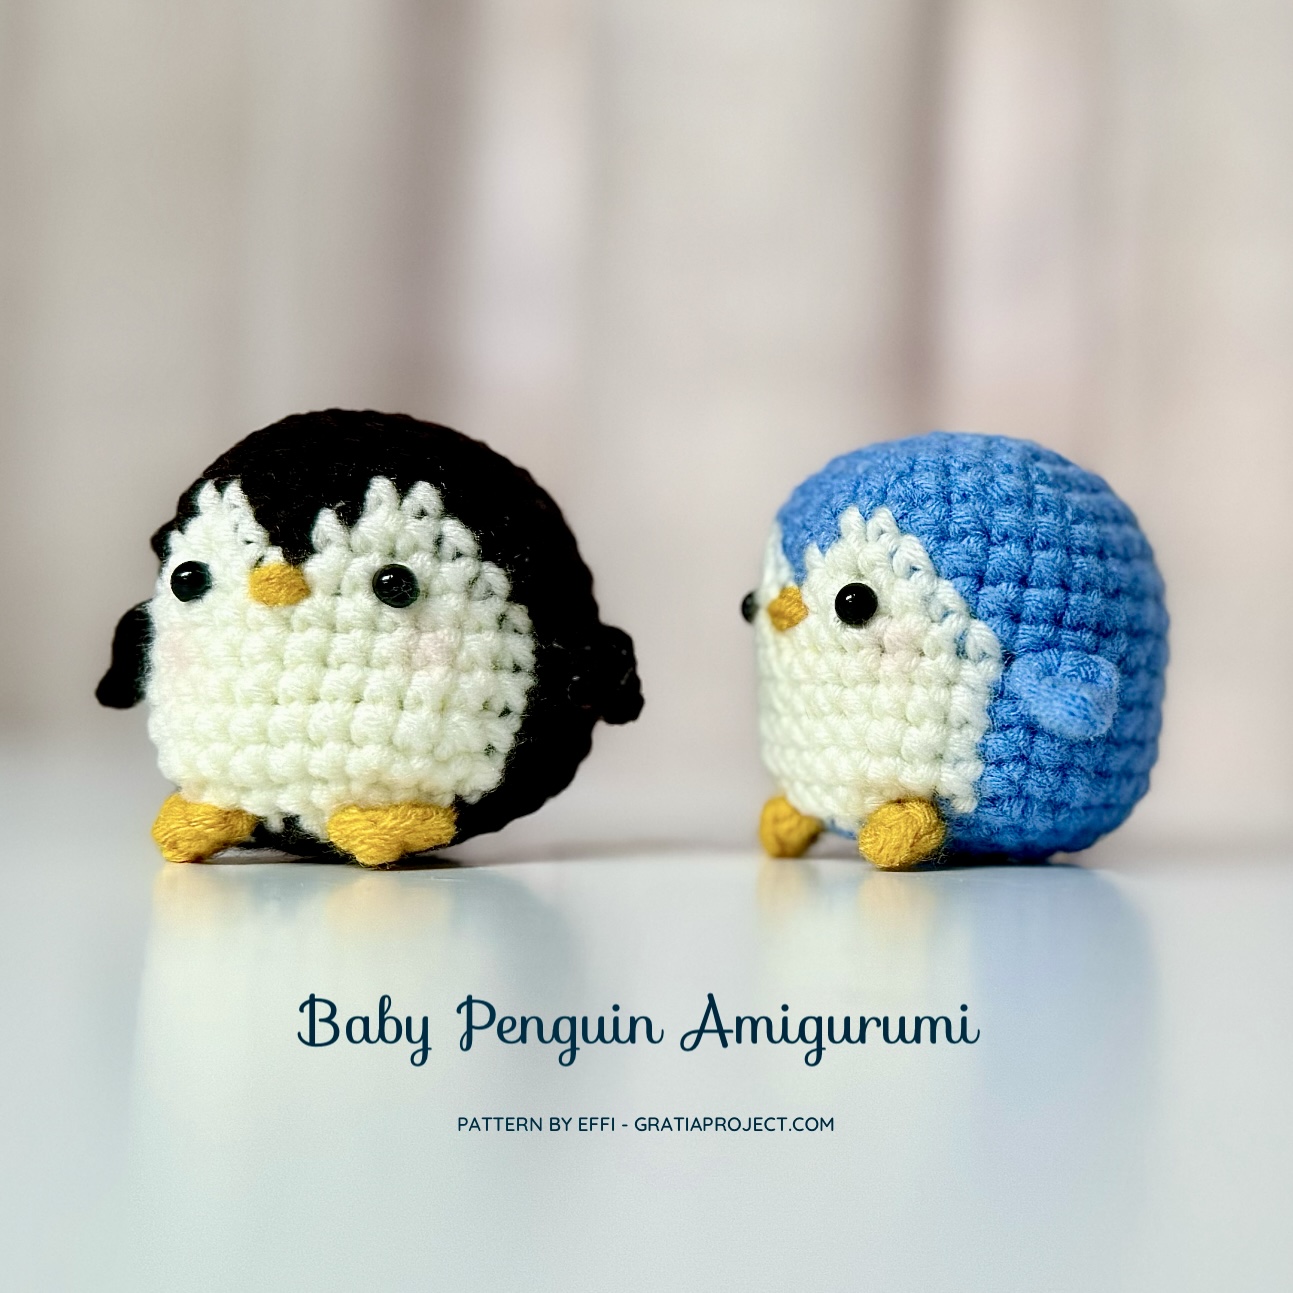
Here is my own version of a Baby Penguin Amigurumi. I spent almost a week creating this pattern, constantly redoing and refining it because I wanted the pattern to have as few stitches as possible while still being super cute. So, my baby penguin version is a fast amigurumi project that can be made in under 1 hour. It’s only 17 rounds, and the largest diameter is only 30 stitches. My daughter loves them so much that she wants me to make several more in different colors.
Baby Penguin Amigurumi Crochet Pattern by Effi GratiaProject.com
Notes:
– Pattern is working continuously in the round.
– Use stitch marker to mark first stitch in a round.
* Some links may be affiliate links which will allow me to make a commission for purchases made through the following link.
Materials:
Soft cotton yarn 5 ply, color black, yellow, and white
Safety eyes size 6mm
Polyester fiber
Crochet hook size 3.5mm
Stitch marker: Clover Needlecraft Split Ring Markers
Tapestry needle
Scissors
ABBREVIATIONS (US Crochet Terms)
st(s): stitch(es)
sl st: slip stitch
MR: Magic Ring
R: Round
ch: chain
sc: single crochet
sc3tog: single crochet 3 stitches together, or decrease 3 stitches into 1 stitch.
[#]: number of stitch(es) in a round
inc: increase (make 2 sc in the same space)
dec: decrease (sc2tog) – use Invisible Decrease for better result. Using invisible decrease (dec) instead of sc2tog is very recommended when making amigurumi; you can’t even tell that the stitches are decreasing.
To do Invisible Decrease, insert hook through front loop of the first stitch, then through the front loop of the next stitch (3 loops on hook). Yarn over and draw through the first two loops on the hook (2 loops on hook now). Yarn over and draw through both loops on the hook. Invisible decrease completed.
{B}: Black yarn
{W}: White yarn
BABY PENGUIN AMIGURUMI PATTERN BY EFFI GRATIAPROJECT.COM
Use black yarn.
Start with Magic Ring.
R1: In a MR, sc 6 [6 sts]
R2: Inc x6 [12 sts]
R3: (Sc, inc) x6 [18 sts]
R4: (Sc 2, inc) x6 [24 sts]
R5: (Sc 3, inc) x6 [30 sts]
R6: {B} Sc 12, {W} sc 2, {B} sc 3, {W} sc 2, {B} sc 11 [30 sts]
R7: {B} Sc 11, {W} sc 4, {B} sc 1, {W} sc 4, {B} sc 10 [30 sts]
R8: {B} Sc 10, {W} sc 11, {B} sc 9 [30 sts]
R9-11: {B} Sc 9, {W} sc 13, {B} sc 8 [30 sts]
R12-13: {B} Sc 10, {W} sc 12, {B} sc 8 [30 sts]
R14: {B} (Sc 3, dec) x2, sc 2, {W} sc, dec, sc 3, dec, sc, {B} sc 2, dec, sc 3, dec [24 sts]
Insert safety eyes between R8 and R9, 5 sts apart.
Fill it with polyester fiber.
R15: (Sc 2, dec) x6 [18 sts]
R16: (Sc, dec) x6 [12 sts]
R17: Dec x6 [6]
Use tapestry needle through every front loop of the last round and close the hole.
Pattern for the penguin’s wing (make 2):
With black yarn, ch 4.
Start from 2nd loop from hook, sl st, sc, hdc.
Pattern for the feet (make 2):
With yellow yarn, ch 2.
In the 2nd loop from hook, make 2 sc.
Use tapestry needle to attach the wings and feet.
Use tapestry needle and yellow yarn to embroider the beak.
